How to create a takout app with rails 7
We will go through building a simple online order takeout app using Rails 7. A user will be presented with a menu and then they can add items to the cart. When they are finished adding items to their cart they will go to the checkout page and pay. Once the user pays then the order they are presented with a confirmation page, and the order will show up in real time, on the orders page to be fullfilled by the server. The completed repo is here
The idea is to get to use Hotwire, that comes with Rails 7, in a different scenario than a chat app. I won’t go into detail on how it works, but if you are interested in learning more I would recommend this free resource Hotrails by Alexandre.
Let’s start
Before we get started I am using:
- ruby 2.7.3
- rails 7.0.2.2
I will be creating a new rails app using Tailwind css this is for styling, and we will use the default sqlite3 for the database. Using Tailwind is optional, but wanted to try out the new css flag.
rails new takeoutapp --css tailwind
Change into the new app directory
cd takeoutapp
We can run the app to make sure that you get the rails default page. If you are new to Rails 7 you will notice that you will need to run ./bin/dev instead of rails s that is because in Rails 7 there is a Procfile.dev file that has the following commands to start the server and watch for CSS changes.
web: bin/rails server -p 3000
css: bin/rails tailwindcss:watch
Customer Pages
Customer pages are the pages that the customer will see or interact with. Create a Customer controller. In the terminal enter:
rails generate controller Customers index menu checkout confirmation
Open the app in you code editor. Go to the routes.rb page and update the get 'customers/index' to root 'customers#index'. Now when you refresh the browser it will land on the customers index page. Lets change the text on that page.
# app/views/customers/index.html.erb

<div>
  <h1 class="font-bold text-4xl">Takeout App</h1>
  <p>Order online and pickup when ready</p>
</div>
Next create the navigation. Create a shared folder under app/views. Inside the new folder create a partial _navigation.html.erb. Add the following:
# app/views/shared/_navigation.html.erb
<nav class="flex justify-between bg-gray-800 text-white py-4">
  <span class="font-semibold px-4">
    <%= link_to "TAKEOUT APP", root_path %>
  </span>
  <div class="px-4 text-gray-200">
    <!-- links will go here -->
  </div>
</nav>
Add the navigation partial to the layouts/application.html.erb file.
# app/views/layouts/application.html.erb

...
  <body>
    <%= render 'shared/navigation' %> # <-- add this line
    <main class="container mx-auto mt-28 px-5">
      <%= yield %>
    </main>
  </body>
...
Categories
This is for the different sections of the menu (i.e. appetizer, entrees, etc.). Then each menu item will belong to a category. For this we will just scaffold the resource. In your terminal run:
rails g scaffold category name:string description:text
Next you will need to run rails db:migrate to add the categories table to the database. You can not go to localhost:3000/categories and be taken to the Category index page. Let’s update the navigation page to have a link for the categories.
# app/views/shared/_navigation.html.erb
<nav class="flex justify-between bg-gray-800 text-white py-4">
  ...
  <div class="px-4 text-gray-200">
    <!-- links will go here -->
    <%= link_to "Categories", categories_path, class: "pr-4 hover:font-medium hover:text-white" %>
  </div>
</nav>
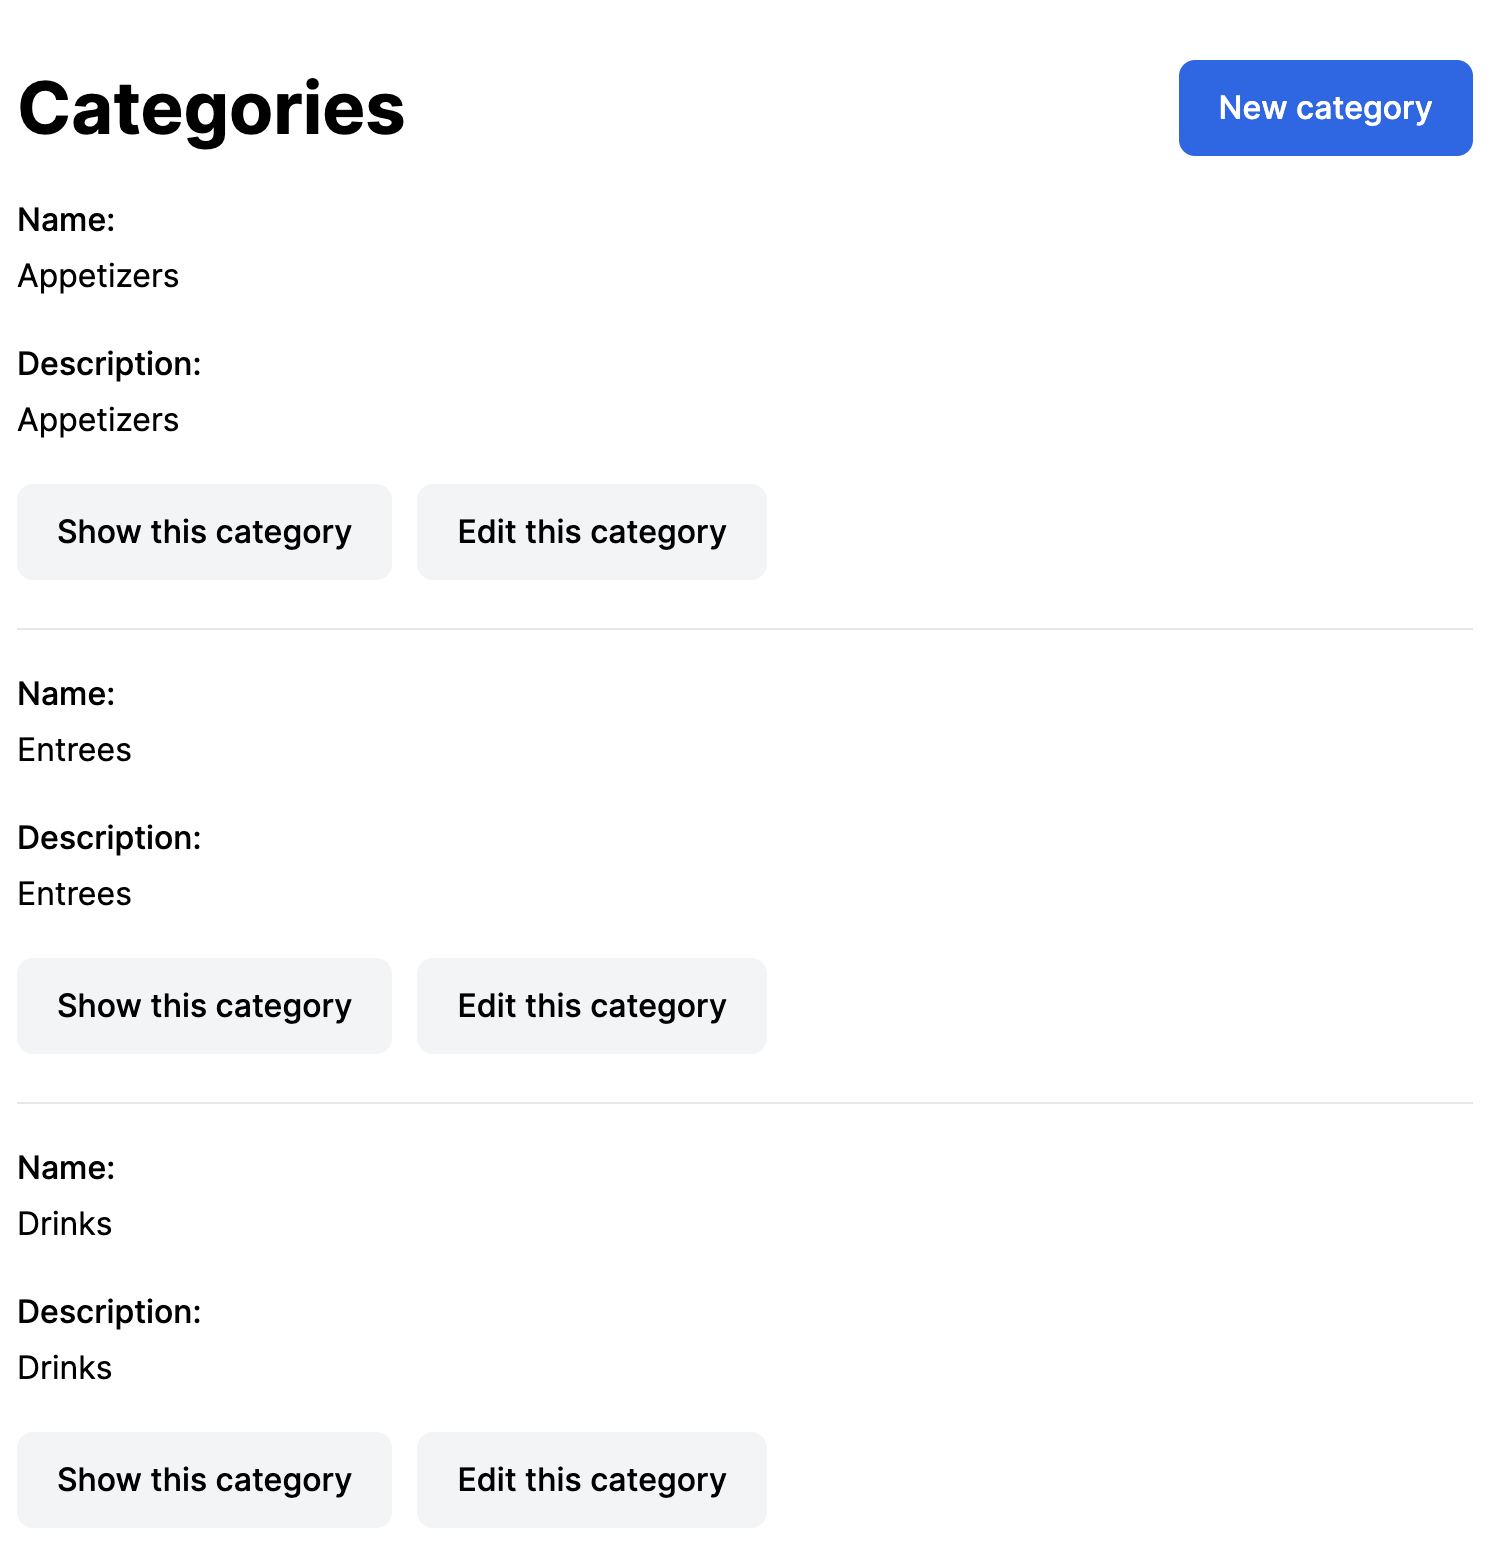
Before moving to the next resource let’s add three new categories. If you are not already the Category index page click the newly add navigation. Add the following three new categories.
- Name: Appetizers, Description: Appetizers
- Name: Entrees, Description: Entrees
- Name: Drinks, Description: Drinks
Menu Items
The next resource is the Menu items, which be used to create the menu. We will scaffold this out since this will not have anything special.
rails generate scaffold menu_item name:string description:text price:decimal available:boolean category:belongs_to
Again we namespace the resource. Run rails db:migrate to add the migrations. Start the server and navigate to localhost:3000/menu_items. Add a validation to the model to require the name to be present.
# app/models/menu_items.rb
class MenuItem < ApplicationRecord
  ...
  validates :name, presence: true
end
We need to update the navigation page to have a link for the menu_items.
# app/views/shared/_navigation.html.erb
<nav class="flex justify-between bg-gray-800 text-white py-4">
  ...
  <div class="px-4 text-gray-200">
    ...
    <%= link_to "Menu Items", menu_items_path, class: "pr-4 hover:font-medium hover:text-white" %>
  </div>
</nav>
While we are on the menu_items index page click the New menu items button you may notice that Category is a text field. We will want that to be select box that is filled with the Categories we created earlier. Open the _form.html.erb under app/views/menu_items and change the current select to the below.
# app/views/menu_items/_form.html.erb
<div class="my-5">
  <%= form.label :category_id, class:"block" %>
  <%= form.collection_select :category_id, Category.all, :id, :name, { prompt: true }, { class: "mt-2 block w-full py-2 px-3 border border-gray-300 bg-white rounded-md shadow-sm" } %>
</div>
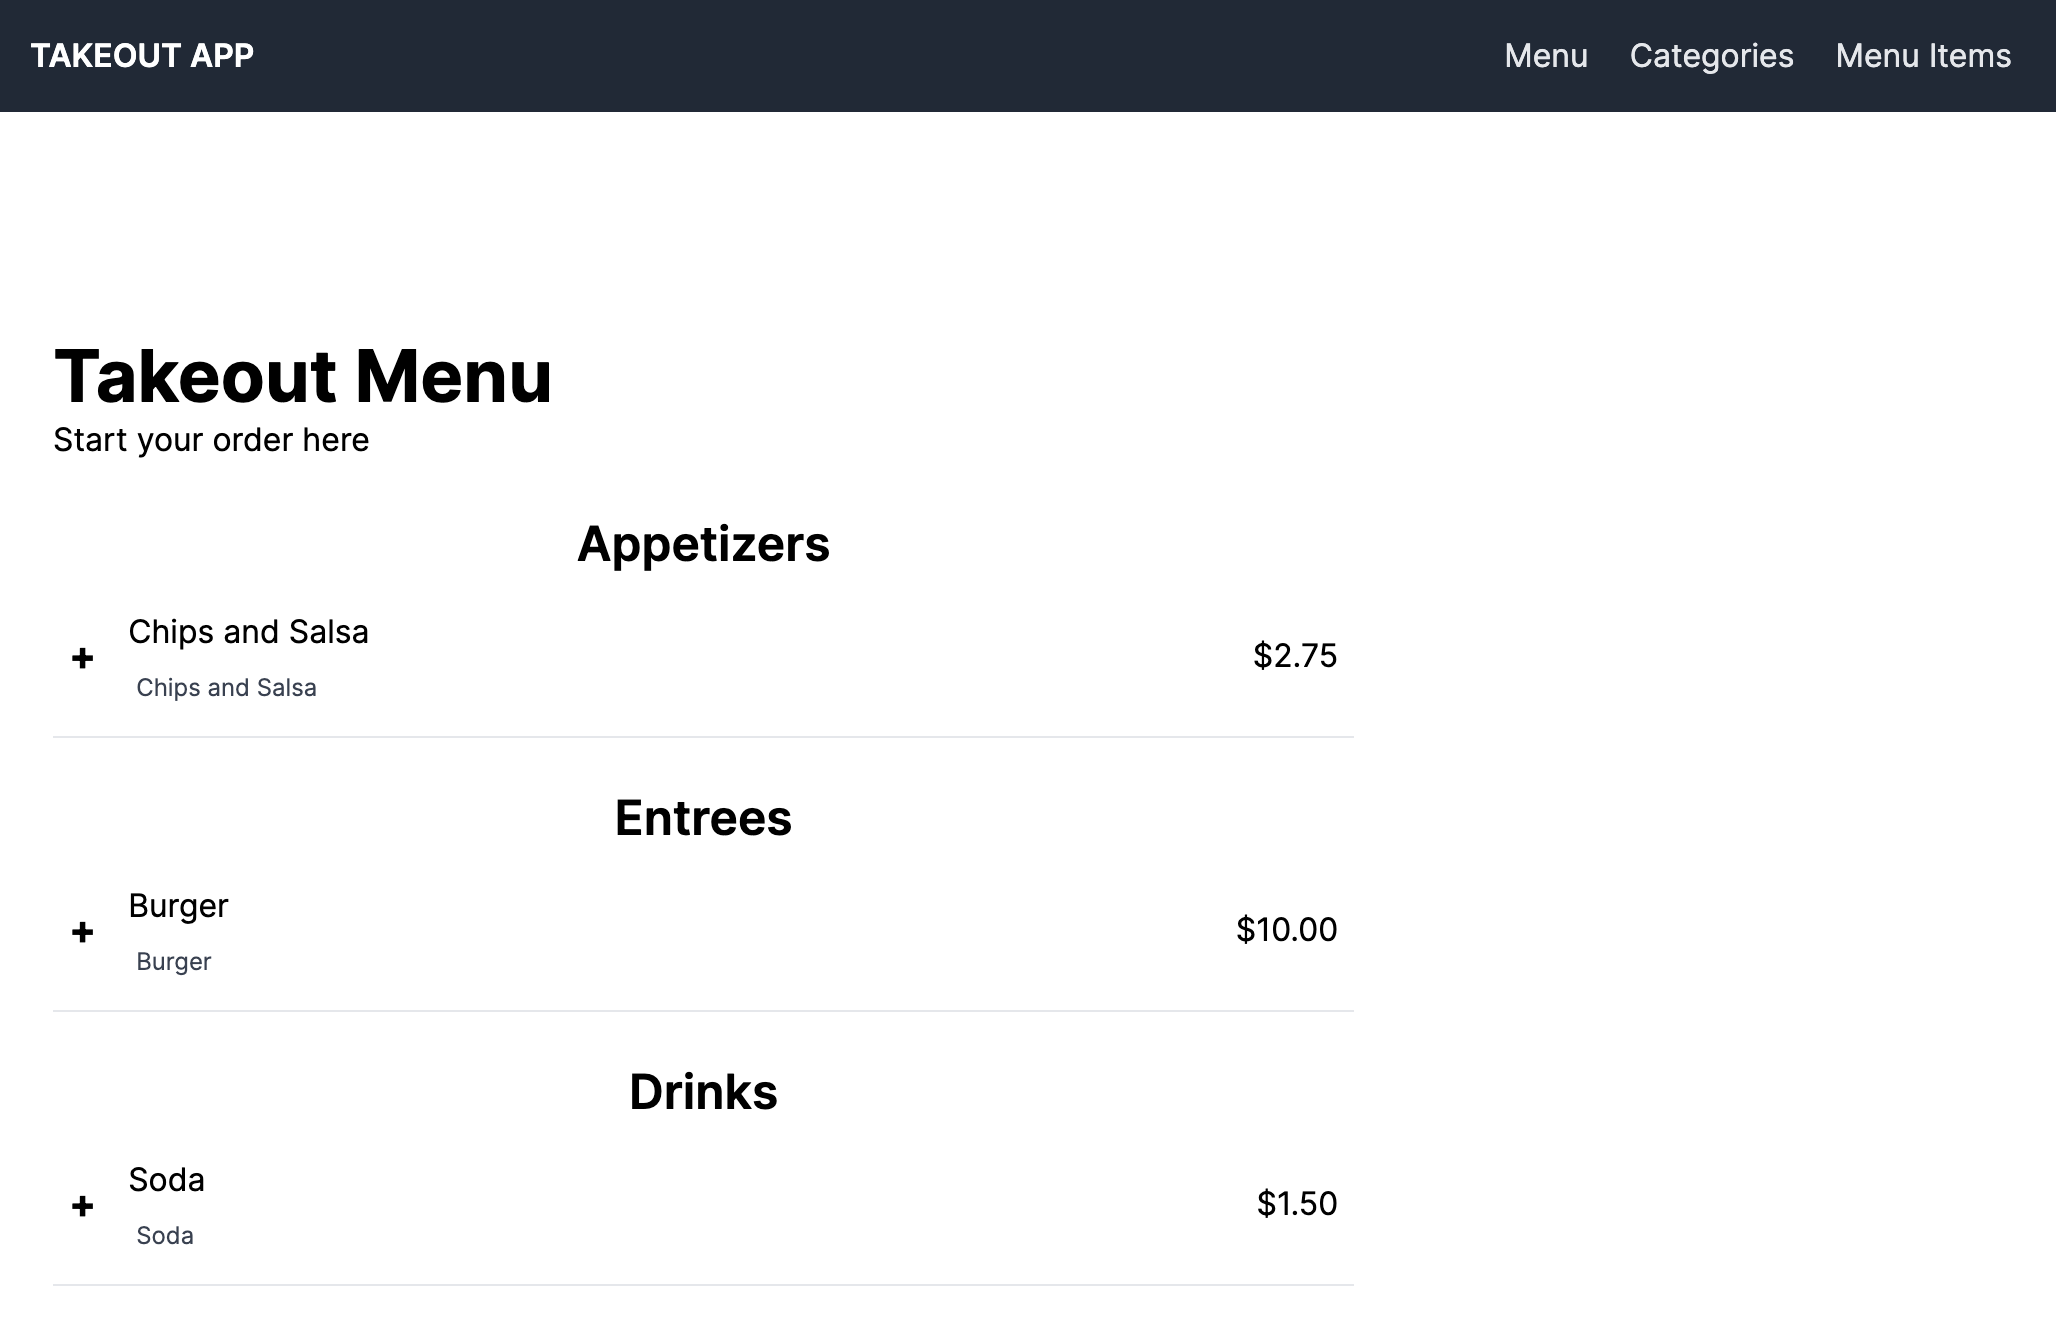
If you refresh the page it will have a select box with the categories. Now add the following menu items.
- Name Chips and Salsa, Description Chips and Salsa, Available checked, Categories Appetizers, Price 2.75
- Name Burger, Description Burger, Available checked, Categories Entree, Price 10.00
- Name Soda, Description Soda, Available checked, Categories Drinks, Price 1.50
- Name Fries, Description Fries, Available unchecked, Categories Appetizers, Price 2.25
For the fries I have them unchecked to test that we are only showing available options when we get to showing the menu.
Menu and Cart
The next item is the Menu and Cart. They will both appear on the same page, and will be handled by the CustomersController. Open the customers_controller.rb and add the following to the menu action.
# app/controllers/customers_controller.rb
  def menu
    @menu_items = MenuItem.where(available: true)
    @appetizers = MenuItem.available_appetizers
    @entrees = MenuItem.available_entrees
    @drinks = MenuItem.available_drinks
  end
Basically what we are doing here is querying the MenuItem model to for specific items. This will require use to add scopes to the MenuItem model. I feel there may be a better way to handle this, but haven’t found it yet. Next add the scopes to the menu_item.rb.
# app/model/menu_item.rb
class MenuItem < ApplicationRecord
 ...
  scope :available_appetizers, -> { where(available: true, category_id: 1)}
  scope :available_entrees, -> { where(available: true, category_id: 2)}
  scope :available_drinks, -> { where(available: true, category_id: 3)}
end
As the name states it will return the specific items that are also marked as available. Now we need to have them appear on the Menu page. Open the the Menu view and replace with the following.
<% if notice.present? %>
  <p class="py-2 px-3 bg-green-50 mb-5 text-green-500 font-medium rounded-lg inline-block" id="notice"><%= notice %></p>
<% end %>
<div class="grid grid-cols-3 gap-4 w-full">
  <div class="col-span-2">
    <h1 class="font-bold text-4xl">Takeout Menu</h1>
    <p>Start your order here</p>

    <section class="mt-6">
      <h3 class="font-semibold text-2xl text-center">Appetizers</h3>
      <%= render 'customers/menu_item', category: @appetizers %>
    </section>

    <section class="mt-6">
      <h3 class="font-semibold text-2xl text-center">Entrees</h3>
      <%= render 'customers/menu_item', category: @entrees %>
    </section>

    <section class="mt-6">
      <h3 class="font-semibold text-2xl text-center">Drinks</h3>
      <%= render 'customers/menu_item', category: @drinks %>
    </section>
  </div>
  <div>
    <!-- cart goes here -->
  </div>
</div>
We need to add a menu_item partial so we can show each item per category. Add file under app/views/customers called _menu_items.html.erb.
<% category.each do |item| %>
  <div class="flex border-b py-4 px-2 items-center">
    <%= form_with(model: [@cart, CartItem.new]) do |form| %>
      <div class="inline">
        <%= form.hidden_field :menu_item_id, value: item.id %>
        <%= form.submit "+", class: "text-xl font-bold cursor-pointer" %>
      </div>
    <% end %>

    <div class="ml-4 flex-auto">
      <p><%= item.name %></p>
      <p class="text-xs text-gray-700 mt-2 px-1"><%= item.description %></p>
    </div>
    <p><%= number_to_currency(item.price) %></p>
  </div>
<% end %>
We will use a form here to submit the request to add the menu item to the cart_item, which we will be creating next, along with the cart. I am using a rails helper ‘number_to_currency’ to format the price.
There are different ways to create cart. One is by using a session only, and the other by persisting the cart to the database and then destroying it after processing the order. I will be persisting it to the database.
We will create two scaffolds one for cart and the other for cart_items. Open your terminal and running the following
rails generate scaffold cart
rails generate scaffold cart_item cart:belongs_to menu_item:belongs_to
Cart will only be used to create an ID for the session and association to the cart_items. cart_items will belong to both the cart and menu_items. Next you will need to run rails db:migrate to add the two tables.
We will need to update the cart model for the has_many cart_items association. Open the cart model and add the following.
# app/model/cart.rb
class Cart < ApplicationRecord
  has_many :cart_items, dependent: :destroy
end
Next we will update the routes.rb to have cart_items nested in carts. Make the following change to the routes file.
# /config/routes.rb
  resources :carts do
    resources :cart_items
  end
Since we will be using nesting we need to update the cart_items controller. Carts controller will stay the same. We will only need the create and destroy actions so all others can be removed or commentted out. We will add a before_action to set the cart for both actions called set_cart. Then only have the set_cart_item called for the destroy action. The create action will be updated for to be redirected to the menu_path since we want it to stay on the that page when an item is added. We will also create the set_cart private method. Full controller below.
# app/controllers/cart_items_controller.rb
class CartItemsController < ApplicationController
  before_action :set_cart_item, only: %i[ destroy ]
  before_action :set_cart, only: %i[ create destroy ]


  # POST /cart_items or /cart_items.json
  def create
    @cart_item = @cart.cart_items.new(cart_item_params)

    respond_to do |format|
      if @cart_item.save
        format.html { redirect_to customers_menu_path, notice: "Item was added." }
        # format.html { redirect_to cart_cart_item_url(@cart_item), notice: "Cart item was successfully created." }
        # format.json { render :show, status: :created, location: @cart_item }
      else
        format.html { redirect_to customers_menu_path, status: :unprocessable_entity, notice: "Item was not added. Try again." }
        # format.html { render :new, status: :unprocessable_entity }
        # format.json { render json: @cart_item.errors, status: :unprocessable_entity }
      end
    end
  end

  # DELETE /cart_items/1 or /cart_items/1.json
  def destroy
    @cart_item.destroy

    respond_to do |format|
      format.html { redirect_to cart_cart_items_url, notice: "Cart item was successfully destroyed." }
      format.turbo_stream # <- Notice a turbo_stream format is needed now for Rails 7
    end
  end

  private
    # Use callbacks to share common setup or constraints between actions.
    def set_cart_item
      @cart_item = CartItem.find(params[:id])
    end

    def set_cart
      @cart = Cart.find(params[:cart_id])
    end

    # Only allow a list of trusted parameters through.
    def cart_item_params
      params.require(:cart_item).permit(:cart_id, :menu_item_id)
    end
end
You will also notice that a turbo_stream format was added to the destroy action. That is because we don’t want a page refresh when we remove a item from the the cart. Later, we will creating the cart_item view which will use a button_to for a delete button and it will submit a turbo_stream and the destory will expect a format of turbo_stream and turbo_stream file, which by default the scaffold does not add. Let’s create the turbo_stream file for the destroy action. Create a new file called destroy.turbo_stream.erb under the /views/cart_items folder and add the following.
# app/views/cart_items/destroy.turbo_stream.erb
<%= turbo_stream.remove "cart_item_#{@cart_item.id}" %>
<%= turbo_stream.update "total", partial: "public/total", locals: { cart: @cart } %>
This will remove the cart_item partial and then update the running total. Both the of will be handle soon.
There are a couple of more items to add and then we can test the menu page. As I said previously we will use the method of persisting the cart to the database and a session. So when a customer goes to the customers/menu page will check if they have a cart in persisted and if not we will create it. Open the customers_controller.rb and add the following.
# app/controllers/customers_controller.rb
class CustomersController < ApplicationController
  before_action :set_cart, only: %i[ menu checkout ]

...

  private

    def set_cart
      @cart = Cart.find(session[:cart_id])
      rescue ActiveRecord::RecordNotFound
      @cart = Cart.create
      session[:cart_id] = @cart.id
    end
end
We will use a before_action to set the cart. We will use a rescue to catch the error if record is not found and the create and store the cart. Next add the menu page to the navigation partial.
# app/views/shared/_navigation.html.erb
<nav class="flex justify-between bg-gray-800 text-white py-4">
  ...
  <div class="px-4 text-gray-200">
    <!-- links will go here -->
    <%= link_to "Menu", customers_menu_path, class: "pr-4 hover:font-medium hover:text-white" %>
    ...
  </div>
</nav>
Start the server with running the following in the terminal ./bin/dev click on the Menu link and you should see the list of menu items that we created earier.
Let’s add the cart to the menu page next to the menu items. Under the <!-- cart goes here --> add the following.
# app/views/customers/menu.html.erb
...
<div>
  <!-- cart goes here -->
  <div class="mb-4">
    <!-- checkout button goes here -->
  </div>
  <div class="border rounded">
    <h4 class="font-medium text-xl text-center py-4 border-b">Cart</h4>
    <%= render @cart.cart_items %>

    <div class="flex items-center">
      <p class="flex-auto py-4 px-2">Total:</p>
      <%= turbo_frame_tag "total" do %>
        <%= render "total", cart: @cart %>
      <% end %>
    </div>
  </div>
</div>
The two main items to point out is that we will render a cart_item partial and a running total. Next we will update the cart_item partial from what the scaffold created.
# app/views/cart_items/_cart_item.html.erb
<%= turbo_frame_tag dom_id(cart_item) do %>
  <div class="flex border-b items-center">
    <p class="flex-auto py-4 px-2"><%= cart_item.menu_item.name %></p>
    <p class="mr-2 py-4"><%= number_to_currency(cart_item.menu_item.price) %></p>
    <%= button_to cart_cart_item_path(@cart, cart_item), method: :delete, class: "text-red-600 py-4 pr-2 hover:text-red-900" do %>
      <svg xmlns="http://www.w3.org/2000/svg" class="h-6 w-6" fill="none" viewBox="0 0 24 24" stroke="currentColor">
        <path stroke-linecap="round" stroke-linejoin="round" stroke-width="2" d="M10 14l2-2m0 0l2-2m-2 2l-2-2m2 2l2 2m7-2a9 9 0 11-18 0 9 9 0 0118 0z" />
      </svg>
    <% end %>
  </div>
<% end %>
The main item here is the <%= turbo_frame_tag dom_id(cart_item) do %>. This is used for the destroy.turbo_stream.erb file we added to the cart_item views to locate the correct item to remove from the cart. Next we create the running total partial. Under customers view create a _total.html.erb file. Add the following.
# app/views/customers/_total.html.erb
<p class="mr-2 py-4"><%= number_to_currency(cart.total) %></p>
You will see in the total partial a cart.total this has to be added to the model to calculate the total. Let’s open the cart model and add the following.
# app/models/cart.rb
class Cart < ApplicationRecord
  ...
  def total
    cart_items.map { |i| i.menu_item.price }.sum
  end
end
You should now be able to add and remove items to the cart. Yay!
Checkout and Orders
This next section we will cover the Checkout, placing, and fulling orders. Checkout will be are action in the customer_controller. We will handle this first. Open the customer_controller.rb and add the following.
# app/controllers/customers_controller.rb
  ...

  def checkout
    @order = Order.new
  end

  ...
Next go to the customers views and open the checkout.html.erb file and add the following.
# app/views/customers/checkout.html.erb
<div class="w-full">
  <% if notice.present? %>
    <p class="py-2 px-3 bg-green-50 mb-5 text-green-500 font-medium rounded-lg inline-block" id="notice"><%= notice %></p>
  <% end %>

  <h1 class="font-bold text-4xl">Checkout</h1>
  <div class="flex justify-between">
    <div>
      <%= render "orders/form", order: @order %>
    </div>

    <div class="border rounded">
      <h4 class="font-medium text-xl text-center py-4 border-b">Cart</h4>
      <%= render @cart.cart_items %>

      <div class="flex items-center">
        <p class="flex-auto py-4 px-2">Total:</p>
        <%= turbo_frame_tag "total" do %>
          <%= render "total", cart: @cart %>
        <% end %>
      </div>
    </div>
  </div>
</div>
Open the menu.html.erb to add the Checkout button. Add the following.
# app/views/customers/menu.html.erb
<div class="mb-4">
  <!-- checkout button goes here -->
  <%= link_to "Checkout", customers_checkout_path, class: "rounded bg-blue-600 text-white py-2 px-4" %>
</div>
That should be it for the Checkout so we can move on to the Orders. We will scaffold the orders and order_items. Open your terminal and run the following commands.
rails generate scaffold order customer:string confirmation:string total:decimal fullfilled:boolean
rails generate scaffold order_item order:belongs_to menu_item:belongs_to
One changes needs to the be made to the orders migration open the datetimestamp_create_orders.rb file and update the following.
# db/migrate/<datetimestamp>_create_orders.rb
t.boolean :fullfilled, default: false # <- add default: false
This will assure that the value for fullfilled is automatically set to false. Once the order is fullfilled it will be set to true. Now run rails db:migrate in the terminal. With the migration complete you can restart the server with ./bin/dev.
Open the order model to add the following lines.
class Order < ApplicationRecord
  has_many :order_items, dependent: :destroy

  validates :customer, presence: true
end
This will complete the association to the order_items and validate the customer is present when we create the order.
If you click the checkout button on the menu page you will see the order form. We will make the following changes, which will mimick adding a credit card payment information. Open the orders/_form.html.erb file and replace with the following.
# app/views/orders/_form.html.erb

<%= form_with(model: order, class: "contents") do |form| %>
  <% if order.errors.any? %>
    <div id="error_explanation" class="bg-red-50 text-red-500 px-3 py-2 font-medium rounded-lg mt-3">
      <h2><%= pluralize(order.errors.count, "error") %> prohibited this order from being saved:</h2>

      <ul>
        <% order.errors.each do |error| %>
          <li><%= error.full_message %></li>
        <% end %>
      </ul>
    </div>
  <% end %>

  <div class="my-5">
    <%= form.label 'Email or phone number' %>
    <%= form.text_field :customer, required: true, class: "block shadow rounded-md border border-gray-200 outline-none px-3 py-2 mt-2 w-full" %>
  </div>

<!-- Do not use: For demostration purposes to simulate a payment process -->
  <span class="inline-block text-sm font-medium">Card Information</span>
  <div class="mb-5">
    <%= label_tag :card_number %>
    <%= text_field_tag :card_number, nil, value: '4242 4242 4242 4242', disabled: true, class: "block shadow rounded-md border border-gray-200 outline-none px-3 py-2 mt-2 w-full" %>
  </div>

  <div class="grid grid-cols-6 gap-6">
    <div class="col-span-6 sm:col-span-3">
      <%= label_tag :expiration_date %>
      <%= text_field_tag :expiration_date, nil, value: '02/30', disabled: true, class: "block shadow rounded-md border border-gray-200 outline-none px-3 py-2 mt-2 w-full" %>
    </div>

    <div class="col-span-6 sm:col-span-3">
      <%= label_tag :cvc %>
      <%= text_field_tag :cvc, nil, value: '123', disabled: true, class: "block shadow rounded-md border border-gray-200 outline-none px-3 py-2 mt-2 w-full" %>
    </div>
  </div>
<!-- end of Do not use: -->

  <div class="my-5">
    <%= form.label :total %>
    <% if @cart.present? %>
      <%= render "total", cart: @cart %>
      <%= form.hidden_field :total, value: @cart.total %>
    <% else %>
      <%= form.number_field :total, disabled: true, class: "block border-none outline-none px-3 py-2 mt-2 w-full" %>
    <% end %>

  </div>

  <div class="inline">
    <%= form.submit class: "rounded-lg py-3 px-5 bg-blue-600 text-white inline-block font-medium cursor-pointer" %>
  </div>
<% end %>
The only field that is availble to update is the Email or phone number the rest is filled in with fake information. We will create a fake payment service. First let’s update orders_controller.rb. We will update the index, create and update actions and add a private method called create_order_items. Open the controller and add the following.
# app/controllers/orders_controller.rb
class OrdersController < ApplicationController
  ...
  def index
    @orders = Order.where(fullfilled: false)
  end

  def create
    @order = Order.new(order_params)

    # located: app/services/payment_service.rb
    payment = PaymentService.new({
      cart: @cart,
      customer: @order.customer,
      card_number: "4242 4242 4242 4242",
      expiration_date: "02/30",
      cvc: "123"
    }).call

    respond_to do |format|
      if payment && payment.success?
        @order.confirmation = payment.payload

        if @order.save
          create_order_items

          format.html { redirect_to customers_confirmation_path(@order), notice: "Order was successfully created." }
          format.json { render :show, status: :created, location: @order }
        else
          format.html { render :new, status: :unprocessable_entity }
          format.json { render json: @order.errors, status: :unprocessable_entity }
        end
      else
        format.html { redirect_to customers_checkout_path, notice: payment.error }
      end
    end
  end

  def update
    respond_to do |format|
      if @order.update(order_params)
        format.html { redirect_to orders_url, notice: "Order was successfully updated." } # <- update this link redirect to orders index page.

      else
        format.html { render :edit, status: :unprocessable_entity }
        format.json { render json: @order.errors, status: :unprocessable_entity }
      end
    end
  end
  ...

  private

    ...

    def create_order_items
      @order.transfer_cart_to_order_items(session[:cart_id])
      session.delete('cart_id')
    end
end
Several items to note. For the index action we are just pulling the orders that have not been fullfilled. Next is the PaymentService, which will create, and then in the create_order_items we will create a transfer_cart_to_order_items method on the orders model to copy the cart items to the order_items and then delete the cart_id session.
Let’s create the PaymentService. Create a folder called services under the app folder. Then under the services folder create a payment_service.rb file and add the following.
# app/services/payment_service.rb
# Simulate a payment gateway service
class PaymentService
  def initialize(params)
    @cart             = params[:cart]
    @customer         = params[:customer]
    @card_number      = params[:card_number]
    @expiration_date  = params[:expiration_date]
    @cvc              = params[:cvc]
  end

  def call
    if process_order
      OpenStruct.new(success?: true, payload: confirmation)
    else
      OpenStruct.new(success?: false, error: "Payment process was unsuccessful. Try again.")
    end
  end

  def process_order
    # Change to false if you want to simulate a failed payment
    true
  end

  def confirmation
    SecureRandom.alphanumeric
  end
end
Next is the we will add the transfer_cart_to_order_items to the order model. Open the order.rb model file and add the following.
# app/models/order.rb
class Order < ApplicationRecord
  ...

  def transfer_cart_to_order_items(cart_id)
    cart = Cart.find(cart_id)
    cart.cart_items.each do |item|
      OrderItem.create(order_id: self.id, menu_item_id: item.menu_item_id)
    end

    broadcast_append_to "orders"

    cart.cart_items.delete_all
    cart.delete
  end
end
Basically we are using the cart_items from the cart and creating order_items. Once that completes we will broadcast the order so that the backend (servers) will see the new order appear on the Orders index page in real time. Next we will delete the persisted cart and cart_items.
How does the Orders index page know to show the new order? By using a turbo_stream and turbo_frame_tag. The <%= turbo_stream_from "orders" %> on this page will know to listen to the broadcast. Once a new order is created the stream will ‘hear’ the new order and use the turbo_frame_tag to append the new order. Open the index.html.erb Orders page and update with the fillowing.
# app/views/orders/index.html.erb
<%= turbo_stream_from "orders" %>
<div class="w-full">
  <% if notice.present? %>
    <p class="py-2 px-3 bg-green-50 mb-5 text-green-500 font-medium rounded-lg inline-block" id="notice"><%= notice %></p>
  <% end %>

  <div class="flex justify-between items-center">
    <h1 class="font-bold text-4xl">Orders</h1>
  </div>


  <div class="my-8 mx-auto w-full md:w-1/2">
    <%= turbo_frame_tag "orders" do %>
      <%= render @orders %>
    <% end %>
  </div>
</div>
Let’s update the orders partial. Open the _order.html.erb file and replace with the following.
# app/views/orders/_order.html.erb
<div id="<%= dom_id order %>" class="border rounded w-full">
  <p class="p-4 font-medium bg-gray-100">Order for: <%= order.customer %></p>
  <ul>
  <% order.order_items.each do | item | %>
    <li class="border-t py-2 px-4"><%= item.menu_item.name %></li>
  <% end %>
  </ul>
  <div class="p-4 border-t">
  <%= form_with(model: order, method: :patch) do |form| %>
    <%= form.hidden_field  :fullfilled, value: true %>
    <%= form.submit "Fullfill", class: "w-full rounded-lg py-3 px-5 bg-blue-600 text-white block font-medium" %>
  <% end %>
  </div>
</div>
One thing to note is that the fullfilled button/form is just going to update the order record to set fullfilled as true and will remove it from the orders index page. Let’s also add the Order link to the navigation partial. Open the navigation partial and add the following.
# app/views/shared/_navigation.html.erb
    <%= link_to "Orders", orders_path, class: "pr-4 hover:font-medium hover:text-white" %>
That is for the backend (servers) side, but what about the customers side. If you look back at the orders_controller create action you will see that on success the customer will be redirected to the confirmation page. They will receive a confirmation code generated by the PaymentService. Lets update the customers_controller and the confirmation action. Open the customers_controller and add the following.
# app/controllers/customers_controller.rb
  def confirmation
    @order = Order.find(params[:id])
  end
Next open the confirmation.html.erb page to update the content with the following.
# app/views/customers/confirmation.html.erb
<div>
  <h1 class="font-bold text-4xl">Order is completed</h1>
  <p>Your confirmation is: <%= @order.confirmation.upcase %></p>
</div>
One more item to update is the routes.rb. Open the routes.rb and replace the get get customers/confirmation with the following.
# config/routes.rb
  get 'customers/confirmation/:id', to: 'customers#confirmation', as: 'customers/confirmation'
Now you should be able to open a private browser tab, and navigate to localhost:3000/orders. Then in the first browser go to Menu and step through checkout/order process. Once you click Create order you will be taken to the confirmation page while in the private browser you will see the new order appear.
Conclusion
I hope that this was helpful. I learned alot from it and it was fun to use the Rails 7 newness. Until next time happy coding.